Elden Ring Nightreign Night Boss Strategies — How to Survive Each Night
Night Boss Difficulty Progression
| Phase | Boss HP | Damage Level | Phase Count | Recommended Team Rune Level | Primary Challenge |
|---|---|---|---|---|---|
| Night 1 Boss | Low | Moderate | 1–2 phases | 12–15 | Learning attack patterns |
| Night 2 Boss | Medium | High | 2–3 phases | 18–22 | Revive management; phase transitions |
| Nightlord | Very High | Very High | 3–4 phases | 25–30 | Flask discipline; co-op coordination |
Night 1 — The Learning Phase
The Night 1 boss is designed to be a survivable introduction to Night Boss mechanics. Its HP pool is low enough that even an underleveled team can defeat it with sufficient flask usage and patience. The Night 1 boss's attack patterns are a subset of the full attack suite it uses in Night 2, making Night 1 the optimal phase to learn fundamental dodge timings without facing the full mechanical complexity of the later encounter. Pay attention to which attacks have which timing windows during Night 1; this investment pays off immediately on Night 2.
In Night 1, resist the temptation to play ultra-aggressively. New players often die on Night 1 by attacking greedily during the boss's recovery animations rather than respecting the full length of its combo chains. Many bosses in Nightreign (like their Elden Ring counterparts) have extended combo chains that include a late hit after an apparent pause—attempting to attack after this pause often results in being hit by the delayed final swing. In Night 1, let the boss complete every combo fully before attacking; confirm safety before committing hits.
Stamina management is critical from Night 1 onward. Every dodge roll costs stamina; every attack costs stamina. A Nightfarer who sprints to the boss, dodges three attacks in quick succession, and then attacks twice may find their stamina depleted at the start of the boss's next combo chain — leaving them unable to dodge and vulnerable to full damage. Reserve at least half of the stamina bar for dodge capacity at all times during boss fights.
Night 2 — Coordination Under Pressure
Night 2 presents a powered-up version of a Night Boss with expanded attack suites, higher damage per hit, and often an additional phase not present in Night 1. The primary challenge shift from Night 1 to Night 2 is that individual mistakes become significantly more punishing — a hit that removed 15% of your flask stock in Night 1 may remove 30–35% in Night 2 at the same rune level. This demands more precise dodging and more careful flask rationing.
Revive management becomes critical in Night 2. The higher damage means deaths are more frequent among less precise players, and coordinating who revives the fallen teammate while maintaining DPS on the boss requires deliberate teamwork. The optimal Night 2 pattern is: tank maintains aggro and faces the boss, damage Nightfarer attacks from the rear, support Nightfarer stays mobile and executes revives during boss recovery animations while contributing DPS during safe windows.
Night 2 often introduces a new boss phase at approximately 50% HP. Phase transitions are the most dangerous moments in any Night Boss fight — the boss typically becomes temporarily invulnerable, repositions, and opens the new phase with an aggressive attack sequence. The correct response is to immediately roll to create distance at the phase transition animation start, observe the first new attack fully, then re-engage with the now-familiar dodge timing.
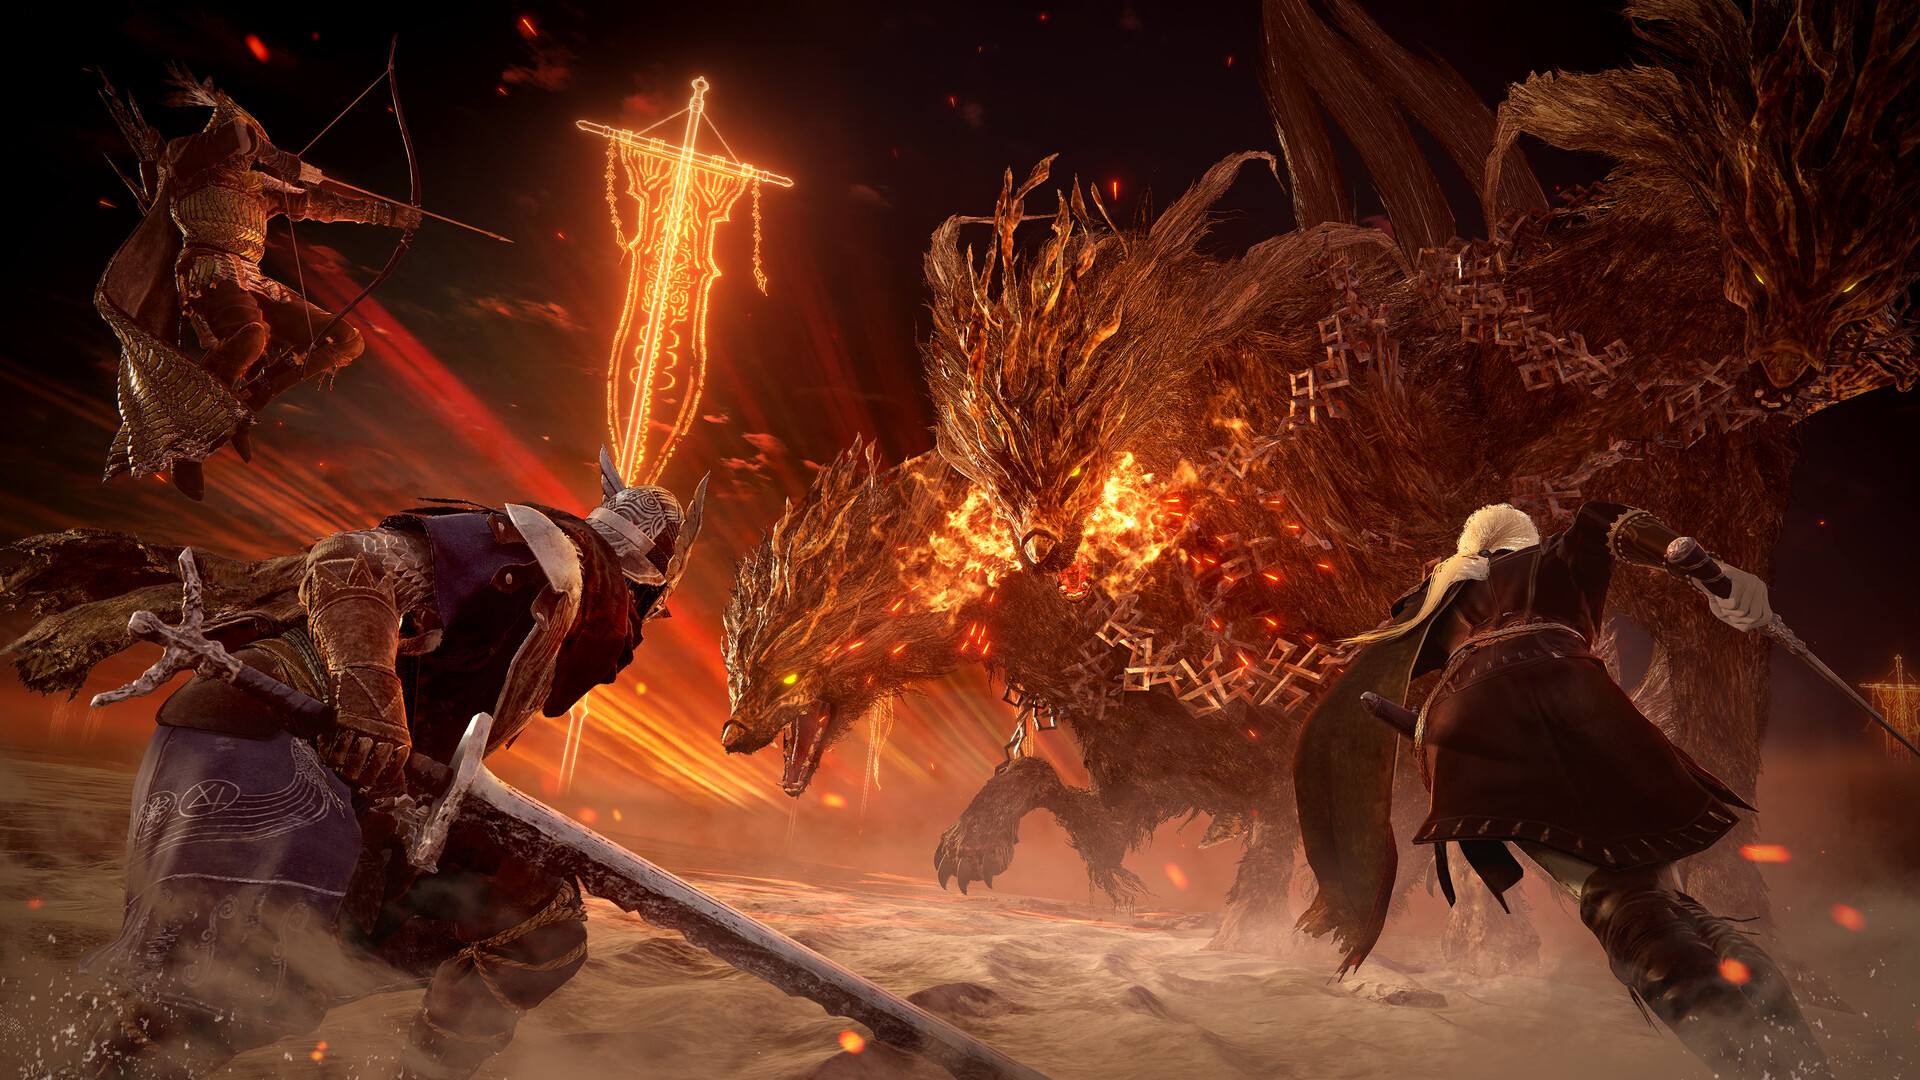
The Nightlord — Multi-Phase Mastery
The Nightlord is the definitive boss encounter of each Expedition and is unique to Nightreign — it does not appear as a repeatable encounter in day phases or in other game contexts. Nightlords are multi-phase encounters with 3–4 distinct phases, each featuring a qualitatively different attack set that requires the team to re-learn dodge timings after each phase transition. This makes Nightlords significantly harder on first encounters than subsequent attempts, as no in-run experience carries the learning directly.
The most common Nightlord wipe pattern is flask depletion. Teams that use Sacred Flasks aggressively in Phase 1 and 2 arrive at Phase 3 with insufficient healing to manage the new attack suite. Flask discipline throughout a Nightlord fight means using flasks only when truly necessary (below 40% HP) rather than reflexively after each hit. Phase 3 and Phase 4 of most Nightlords are substantially harder than earlier phases, so the flask reserves needed for those phases are higher.
Team ultimates should be saved for Nightlord phase transitions. When a phase ends and the Nightlord enters a transition animation, it is briefly stationary with reduced defense. Firing all three team ultimates simultaneously during this window deals enormous burst damage that can sometimes shorten the transition sequence, reducing total fight duration. Co-ordinating this requires pre-fight agreement on the signal for ultimate firing — typically the phase transition visual effect or a verbal callout.
Universal Night Boss Survival Principles
- Dodge through attacks, not away from them — rolling toward or through boss attacks is more effective than running away, as it avoids the tracking hitbox.
- Never sprint away from a melee boss during its combo chain — sprinting has less invincibility than dodge rolls and will result in hits.
- Attack after the boss's combo ends, not during — count the hits in each combo chain during Night 1 and attack only after confirming the combo is complete.
- Keep stamina above 50% at all times during boss fights — never attack so many times that you cannot dodge the next incoming attack.
- Use healing flasks only when below 40% HP — reactive flask use below 40% is more efficient than proactive top-ups after minor hits.
- Revive fallen teammates during the boss's recovery animation — the 2–3 seconds after a major boss attack is the safest revive window.
- Target the boss's back or side when the tank has aggro — rear attacks deal increased damage and avoid the boss's frontal hitbox attacks.
Boss Engagement Style by Phase
| Phase | Aggression Level | Flask Usage | Goal |
|---|---|---|---|
| Night 1 | Conservative — learn patterns | Minimal (1–2 flasks) | Survival + pattern recognition |
| Night 2 | Moderate — punish known windows | Moderate (2–3 flasks) | Coordinate revives + DPS |
| Nightlord Phase 1 | Moderate — pattern still readable | Conservative (save for later phases) | DPS without overcommitting |
| Nightlord Phase 2 | Aggressive — adapt fast | Moderate | Apply Night 1/2 lessons |
| Nightlord Phase 3+ | Maximum commit — endgame | All-in (drain flasks) | Finish the kill before wipe |
Verdict: Conservation matters early; commitment matters late. Don't reverse the order — burning flasks in Phase 1 leaves you helpless in Phase 3.
Stagger Setup by Weapon Class
| Weapon Class | Stagger Setup | Stagger Window Damage |
|---|---|---|
| Greatsword / Colossal | Charged R2 spam (3–4 hits) | Critical execution: 25–40% boss HP |
| Hammer | Charged Crushing Strike (3 hits) | Critical execution: 30–50% boss HP |
| Sword | Multiple combo chains (5–6 cycles) | Critical execution: 20–30% boss HP |
| Spear | Counter timing accumulates poise | Critical execution: 25–35% boss HP |
| Dual Blades | Rapid R1 mash with poise gear | Critical execution: 15–25% boss HP (but faster) |
| Bow | Aimed headshot accumulates poise faster | Critical execution: 25–40% boss HP via headshot |
| Staff | Comet or Lightning Strike for staggers | Critical execution: 30–40% boss HP |
Reading Boss Telegraphs
Every Night Boss attack has a telegraph — a visual or animation cue that signals which attack is coming. Common telegraphs include weapon raising, glowing limbs, particular body postures, or audio cues (snarls, growls, weapon swooshing). Learn 3–5 key telegraphs per boss in Night 1; apply them in Night 2 with confidence.
Telegraphs vary in difficulty. Simple slow telegraphs (Wolf-Knight overhead swing) are easy to read for new players. Complex multi-hit telegraphs (Twin Knights paired attacks) require precise timing and pre-positioning. Practice on easier bosses first; difficult bosses are 4× harder when you don't know their tells.
Telegraph timing is consistent across phases. A boss's signature attack in Phase 1 has the same wind-up time in Phase 2 and Phase 3 — even if the attack itself becomes more powerful. Once you learn the timing, it's locked in. This is why Night 1 boss learning translates directly to Night 2 boss execution.
Advanced Boss Tactics
- Pre-buff with Wondrous Physick (HP regen or damage buff) right before engaging — buff window is 3–5 minutes
- Use Holy Water Pots, Sleep Pots, or Bewitching Branches as supplementary status effects
- Apply Bleed or Frostbite for status proc damage (15–20% boss HP per proc)
- Save Multi-Shot, Whirlwind, or Meteor (AoE skills) for boss recovery windows for free DPS
- Coordinate Critical Executions with team ultimates — multiplicative damage during stagger
- Watch for boss 'desperation moves' (faster attacks at low HP); commit damage during your dodge to outpace the threshold
- Use Bridge of Sanity terrain — fight where the boss's range is constrained or its movement is restricted
Frequently asked questions
What is the most common cause of death in Night Boss fights?
Stamina depletion leading to inability to dodge is the most common death cause. Players attack too many times, run out of stamina, and cannot dodge the boss's next attack. The second most common cause is flask waste — using healing flasks reactively for small hits rather than saving them for dangerous high-damage situations.
Should I try to stagger Night Bosses?
Yes. Night Bosses have stagger mechanics — dealing enough poise damage in a short window causes the boss to briefly stagger, creating a free attack window with no incoming attacks. Greatswords, colossal weapons, and guard counter attacks build poise damage quickly. During a stagger, focus all damage and fire team ultimates for maximum efficiency.
How do I know when a Night Boss is in a new phase?
Phase transitions are accompanied by dramatic visual effects — the boss changes appearance, gains a new aura, or performs a unique animation not seen before. The HP bar may flash or display a new segment marker. Most Nightreign bosses telegraph phase transitions with a large projectile or area-of-effect attack followed by a repositioning animation. Create distance at the start of this sequence.
What should I do if I run out of flasks during the Nightlord fight?
Without flasks, survival depends entirely on avoiding all boss damage — playing defensively and only attacking in the safest possible windows. In this state, reviving fallen teammates and maintaining team presence is more important than personal DPS. If the Nightlord is below 30% HP, a flask-less but competent team can still complete the kill through careful play. If HP is above 60%, the situation is very difficult and team wipe is likely without exceptional individual play.
Can I practice Night Boss patterns without risking a run?
Somewhat. The Night 1 version of each boss is the 'practice' encounter — its patterns are simpler than Night 2. There is no unlimited practice mode for specific bosses in Nightreign; each encounter requires a full Expedition run to reach. Community boss guide videos provide pattern previews before attempting an unfamiliar boss live.
Sources & verification
Continue this guide path
- ›Nightlord Boss Guide for Elden Ring Nightreign — All Nightlords ExplainedNightlords are the final bosses of every Expedition in Elden Ring Nightreign — multi-phase encounters that test everything your team has built across Days 1 through 3. This guide covers the Nightlord system, how Nightlords rotate between Expeditions, team composition for each type, and the preparation checklist that separates successful clears from failed runs.
- ›Elden Ring Nightreign Best Weapons — Top Picks for Each RunFinding and upgrading the right weapon is crucial in each Nightreign Expedition. This guide ranks weapon types by effectiveness, explains how weapon rarity and scaling work in runs, and identifies the strongest weapon categories for each Nightfarer archetype.
- ›Elden Ring Nightreign Nightfarer Classes Guide — Which to Choose?Nightreign's Nightfarer characters each have a fixed starting weapon, passive ability, and powerful ultimate. This guide covers every Nightfarer's role, abilities, and team synergies to help you pick the right character for solo or co-op Expeditions.